

Detailing Supplies for Auto Body Shop Paint Prep (2026)
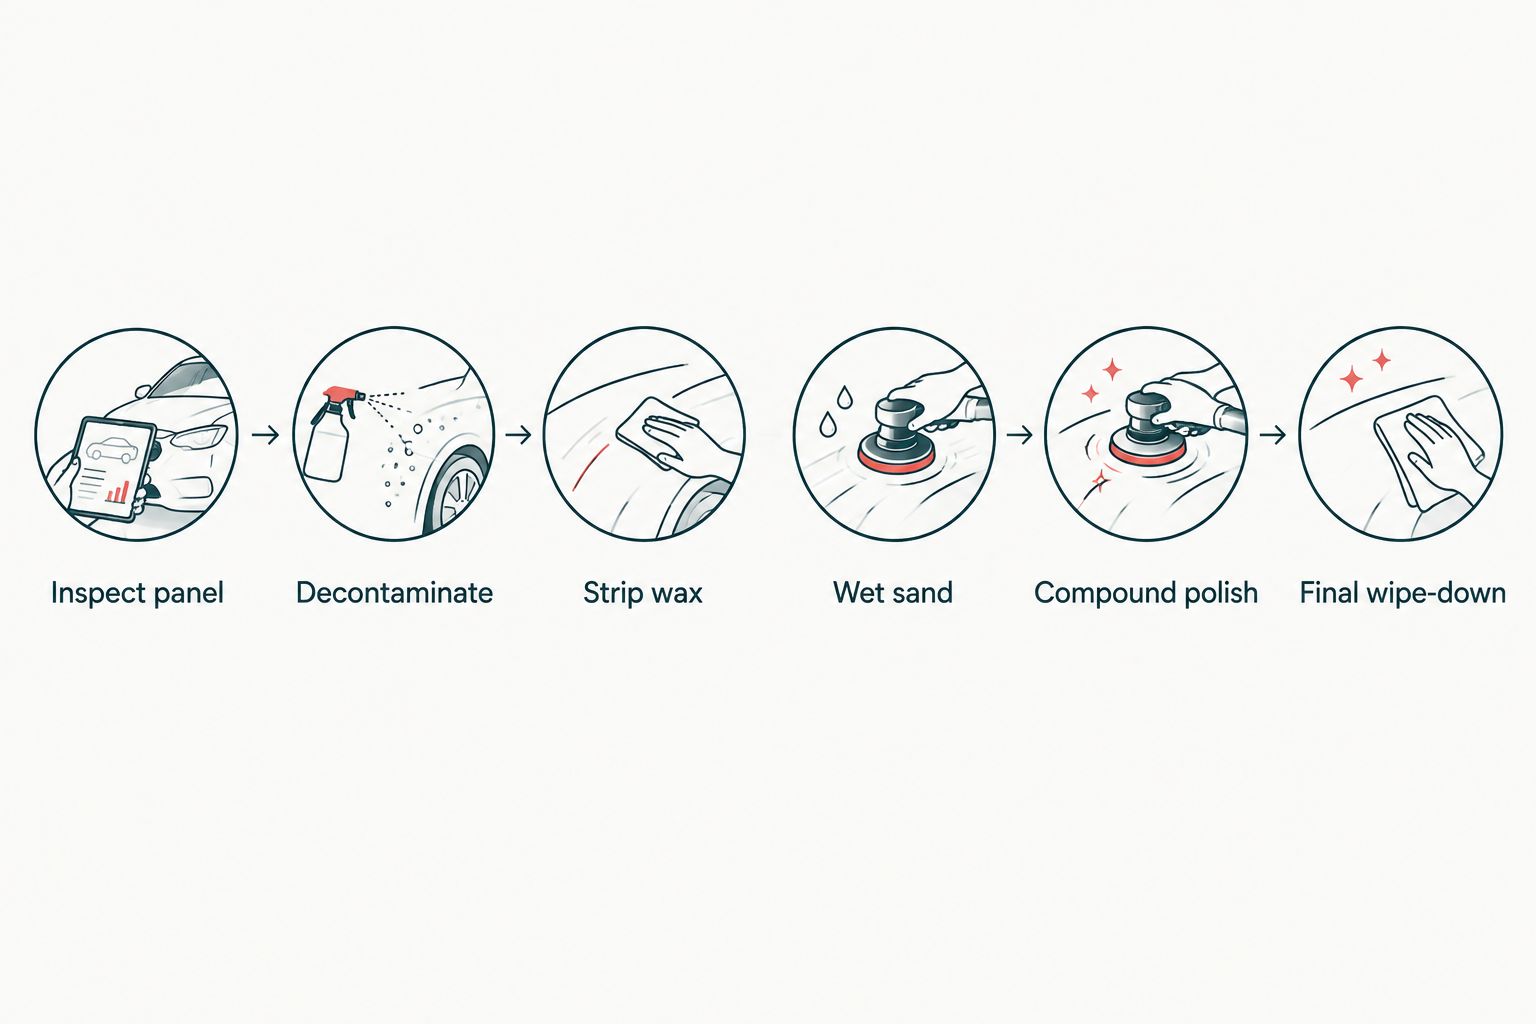
Detailing supplies for auto body shop paint prep run in a fixed sequence — decontaminate, strip, sand, compound, polish — and shops that skip a step in 2026 are the ones fighting fisheyes and comebacks six months later. A body shop's paint prep needs differ from a mobile detailer's: higher panel counts, faster turnaround windows, and multiple technicians who all need to hit the same result without a supervisor standing over every panel.
- Detailing supplies for auto body shop paint prep start with decontamination: P&S Iron Buster strips embedded iron before any abrasive touches the panel.
- Wet sanding at 1500-3000 grit levels orange peel and runs; skipping it locks defects under new clear coat.
- Koch-Chemie PO POL STAR handles single-stage correction on light oxidation; sand-through repairs need a cutting compound first.
- A dual-action polisher like the Maxshine M15 keeps results consistent across a shift of technicians, unlike hand-applied compound.
- Buy the iron remover and wet sand paper first — compounds and polishers only matter once the panel is actually clean.
Why paint prep supplies matter for auto body shops
Paint applied over a panel with embedded iron, silicone, or tar contamination doesn't bond right. It shows up later as fisheyes, rust bleed-through under the clear coat, or adhesion failure nobody wants to warranty in 2026. A technician working through 8-10 panels a day can't rely on a visual check alone — P&S Iron Buster turns purple on contact with ferrous fallout, which catches contamination the eye misses entirely.
Detailing World ATL stocks paint prep chemicals across more than 16 verified brands, and the sequence matters more than which single product a shop picks. A shop that buys wet sand paper without an iron remover, or a compound without a finishing polish, is buying half the fix.
The panel isn't ready for sanding or compound until decontamination is actually done — not assumed.
Inspect the panel before you touch it
A five-minute inspection with clean hands and a trouble light catches problems a rushed wash-and-tape job walks right past. This step costs nothing but time and it's the one most often skipped under deadline pressure.
- Run a fingertip over the surface to feel for texture, not just look at it
- Check for fisheyes or crater marks from old wax or silicone
- Look for sand-through spots on repair edges
- Note whether the job is a blend panel or a full respray
- Flag heavy oxidation now, before it becomes a surprise at the compound stage
Decontaminate before any abrasive step touches the panel
The manual route is a clay bar or clay mitt worked with a lubricant, and it lifts bonded contaminants a wash alone leaves behind. For iron and brake dust specifically, a dedicated iron remover works faster and reaches contamination clay can burnish over instead of removing.
- Clay bar or clay mitt with lubricant for bonded surface contaminants
- Iron remover, such as P&S Iron Buster, for embedded rail dust and brake fallout
- Tar and adhesive remover for glue residue near trim and moldings
- Full rinse and dry before any masking begins
- A second fingertip check after decon, not before
Strip old wax and sealant from the surface
An isopropyl-based wipe-down handles most factory wax and old sealant without a dedicated product. Shops running ceramic-coated trade-ins or fleet vehicles often need a stronger panel prep solvent because standard wipe-downs leave silicone behind that causes fisheyes at the booth.
- Wipe down with a panel prep solvent, not just soap and water
- Watch for fisheyes on the test pass — that's leftover wax talking
- Mask body lines and trim with pinstripe tape for clean edges
- Run a tack cloth pass after the solvent wipe, before sanding starts
- Re-test with a water break check if the panel will sit overnight
Wet sand to level orange peel and defects
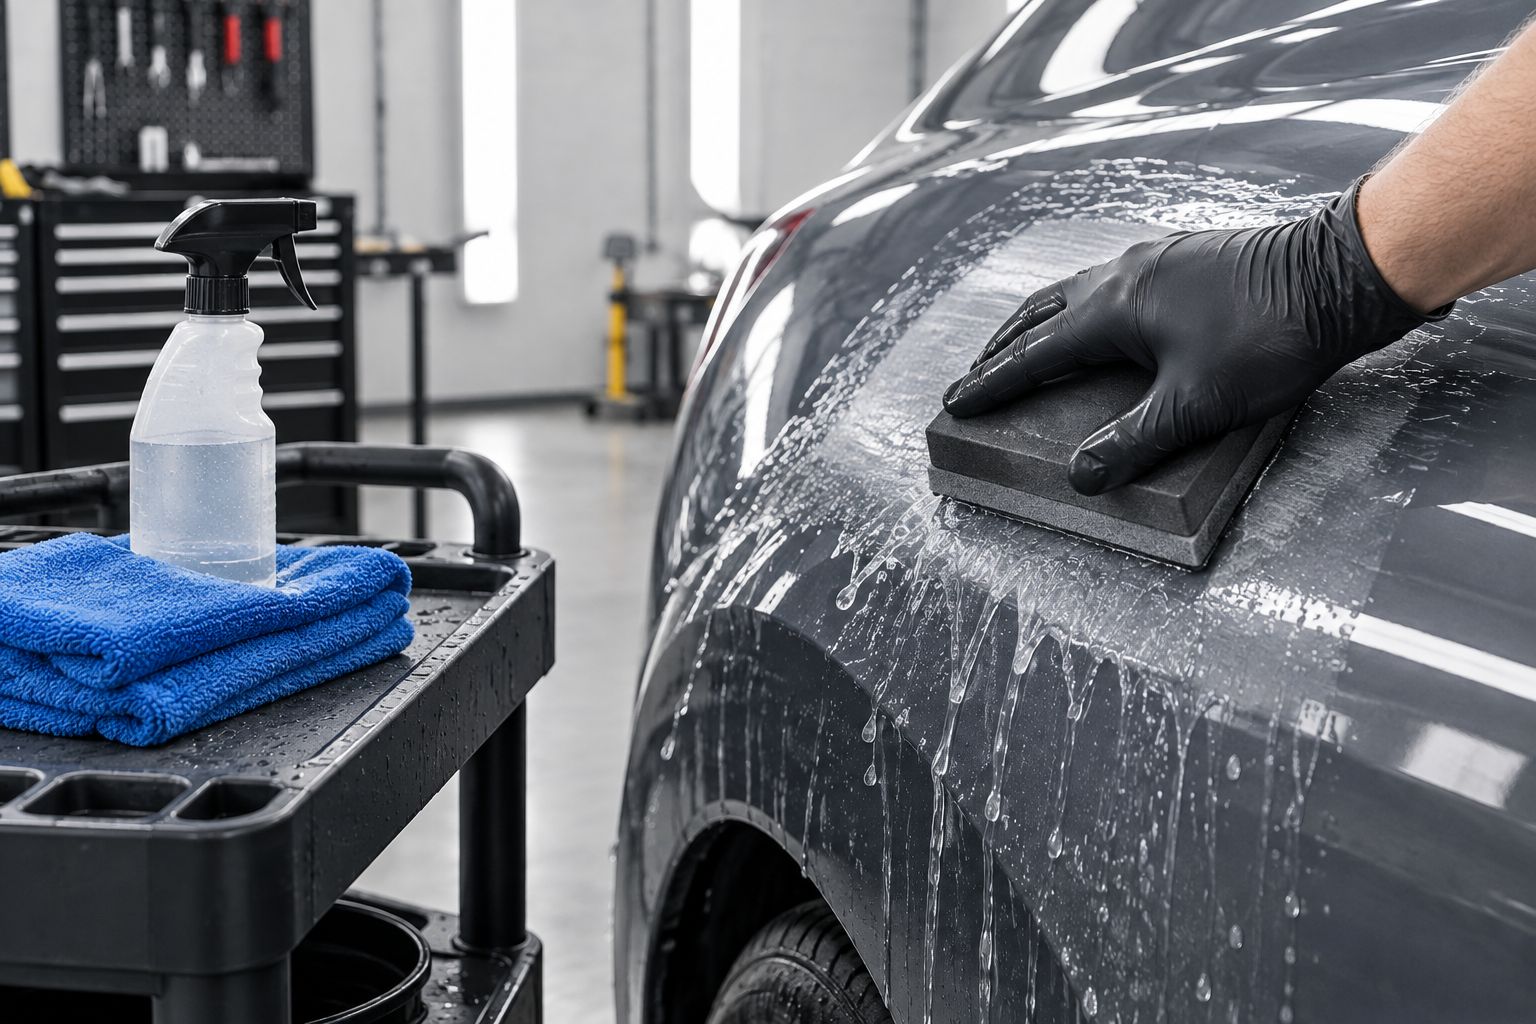
Wet sanding is where paint prep supplies for auto body shop paint prep actually earn their keep — it's the step that decides whether the finish looks factory or looks patched.
- Start around 1500 grit on factory clear coat defects and runs
- Step up to 2000-3000 grit before moving to compound
- Keep the panel wet throughout the pass to avoid burning through clear coat
- Use a sanding block on flat panels, hand-sand tighter curves
- Check the reflection under an LED light between grit steps, not just at the end
Compound and polish to restore gloss
Hand-applied compound with a foam applicator works on small spot repairs, but it's slow and inconsistent across a full panel. A dual-action polisher makes the result repeatable no matter which technician is running it that day.
- A cutting compound like Sonax CutMax for heavy oxidation or sand-through blending
- Koch-Chemie PO POL STAR for single-stage correction on lighter oxidation
- A dual-action polisher, such as the Maxshine M15, for consistent results across a shift
- A foam pad matched to compound aggressiveness — pad choice matters as much as chemical choice
- A panel wipe pass before moving the vehicle toward primer or clear
Final wipe-down and inspection before the booth
This is the step comebacks trace back to most often, because it happens right before the vehicle leaves the prep bay under a deadline.
- Wax and grease remover pass, not water alone
- Tack cloth pass immediately before the vehicle enters the booth
- LED inspection light held at a low angle to catch missed sand marks
- A second technician sign-off on high-value panels or full respray jobs
Comparison table of paint prep methods for auto body shops
P&S Iron Buster is the non-negotiable first step — everything after it performs better on a genuinely clean panel.
| Method | Best for | Key limitation |
|---|---|---|
| Iron/fallout remover (P&S Iron Buster) | Stripping embedded contamination before any abrasive step | Doesn't correct scratches or oxidation on its own |
| Clay bar or clay mitt | Bonded surface contaminants missed by washing | Slower than chemical decon on high panel counts |
| Wet sanding, 1500-3000 grit | Leveling orange peel, runs, and sand-through repairs | Needs a compound and polish step after to restore gloss |
| Rubbing compound (Sonax CutMax) | Heavy oxidation and sand-through blending | Leaves haze that needs a finishing polish |
| Single-stage polish (Koch-Chemie PO POL STAR) | Light oxidation before repaint blending | Won't cut through deep sand scratches |
Common mistakes auto body shops make with paint prep
- Skipping iron decon and going straight to wet sanding, trapping contamination under new clear coat
- Using a consumer wax remover instead of a panel-specific prep solvent, leaving silicone behind that causes fisheyes
- Buying one compound and expecting it to handle both cutting and finishing work
- Letting technicians freelance the grit progression instead of running a standard 1500-2000-3000 sequence
- Skipping the final LED inspection pass and sending panels to the booth with missed sand marks still visible
“If the panel still shows fisheyes after a wipe-down, the surface isn't clean — start decontamination over, don't just add more wax remover.”
That one habit, more than any single product, separates shops with low comeback rates from shops that keep reworking the same panels.
FAQ
What supplies do auto body shops need for paint prep in 2026?
Auto body shops need an iron/fallout remover, a clay bar or mitt, a panel prep solvent, wet sand paper in a 1500-3000 grit range, a cutting compound, a finishing polish, and a dual-action polisher. The sequence — decontaminate, strip, sand, compound, polish — matters as much as the products themselves.
Is wet sanding necessary before painting a panel?
Yes, wet sanding is necessary when the panel has orange peel, runs, or sand-through defects that need leveling before a respray. Panels without visible surface defects can sometimes skip straight to compound and polish.
What removes iron contamination from paint before priming?
A dedicated iron/fallout remover, such as P&S Iron Buster, dissolves embedded rail dust and brake fallout on contact and typically turns purple as it reacts. Clay alone can burnish embedded iron into the clear coat instead of removing it.
What grit should I use for wet sanding before compounding?
Start around 1500 grit for factory clear coat defects and step up through 2000 and 3000 grit before moving to compound. Skipping grit steps leaves scratch patterns the compound can't fully remove.
Is Koch-Chemie PO POL STAR a compound or a polish?
Koch-Chemie PO POL STAR is a single-stage polish built for light oxidation and finishing work, not heavy cutting. Panels with deep sand scratches or sand-through repairs need a cutting compound first.
Do auto body shops need a dual-action polisher or is rotary enough?
A dual-action polisher, like the Maxshine M15, gives more consistent results across multiple technicians and lower risk of burn-through than a rotary alone. Shops doing heavy correction work often keep both on hand for different stages.
How do body shops know a panel is fully decontaminated?
Run a fingertip test across the dry panel after clay and iron remover — a truly clean panel feels glass-smooth with no texture. Visual inspection alone misses embedded contamination that a fingertip catches immediately.
What's the difference between wet sanding and clay bar decontamination?
Clay bar decontamination lifts bonded surface contaminants like tar and industrial fallout without removing clear coat. Wet sanding physically levels the clear coat surface to remove orange peel, runs, and scratches, and always needs a compound and polish step after.
One last thing
Most iron removers, including the ones stocked for paint prep work, are built to change color — usually to purple or red — the moment they react with ferrous particles on the panel. That color shift isn't a defect or a stain risk; it's the chemical dissolving metal that a fingertip or a visual scan would have missed entirely. Shops that treat the color change as a diagnostic tool, wiping and re-checking until the reaction stops, catch contamination that a one-pass clay job leaves behind — and that's usually the difference between a panel that holds paint for years and one that comes back in six months.